Making Your Own Cultured Butter at Home

Most people don't realize that standard grocery store butter is often just fat and water, lacking the complex biological depth of truly cultured varieties. Making your own cultured butter at home allows you to control the fermentation process, resulting in a product that is deeper, more acidic, and far more flavorful than anything you'll find in a plastic tub. This guide breaks down the science of lactic acid fermentation, the specific equipment you need, and the step-by-step method to transform heavy cream into gold.
Cultured butter is a living thing. It's the result of adding specific bacteria to cream and letting them work their magic over a period of 24 to braces of 48 hours. This process breaks down lactose into lactic acid, which provides that signature tang and helps preserve the fat. If you've ever wondered why high-end French butter tastes so much more complex than domestic brands, this is the reason.
What Is the Difference Between Sweet Cream and Cultured Butter?
The primary difference lies in the fermentation: sweet cream butter is made by churning cream that hasn't been fermented, while cultured butter is made from cream that has been inoculated with live bacteria. This distinction changes the texture, the shelf life, and the flavor profile entirely.
When you use sweet cream, the flavor is mild and neutral. It's fine for baking, but it lacks character. Cultured butter, however, has undergone a biological transformation. The bacteria—usually Lactococcus or similar lactic acid-producing strains—create a sharp, bright acidity. This acidity isn't just a flavor; it's a structural component that makes the butter feel more "alive" on the palate. It's also more stable for cooking at higher temperatures because the slight acidity helps manage the breakdown of proteins.
If you've ever struggled with a flat flavor in your cooking, it might be because your fats are too neutral. For instance, if you're looking for more depth in your sauces, you might want to check out why your homemade stock always tastes thin and weak to understand how fat and acidity work together in a dish. A high-quality fat like cultured butter can bridge that gap.
The Essential Equipment List
You don't need a professional-grade cream separator to do this, but you do need a few specific tools to ensure you aren't just making a mess in your kitchen.
- A Glass Jar: A wide-mouth Mason jar is perfect for the fermentation stage.
- A Stand Mixer or Food Processor: You need enough power to break the fat globules apart.
- Cheesecloth: To strain the buttermilk after churning.
- A Fine-Mesh Sieve: For the final rinse.
- A Digital Thermometer: To monitor temperatures during the initial cream warming.
How Do You Make Cultured Butter at Home?
To make cultured butter, you must first inoculate high-fat heavy cream with a starter culture, allow it to ferment for at least 24 hours, and then churn it until the fat separates from the liquid.
Here is the workflow I use when I want to make a batch for a dinner party or just to have on hand for my morning sourdough toast.
Step 1: Selecting and Preparing the Cream
Don't use the "light cream" you find in the dairy aisle. You need heavy whipping cream with a fat content of at least 36% to 40%. If the fat content is too low, you'll spend an eternity churning and end up with more buttermilk than butter. I personally prefer using organic heavy cream from brands like Organic Valley because the higher quality of the milk often translates to a cleaner finish.
Pour your cream into a clean glass jar. You can use a commercial starter culture or, for a more traditional approach, a few tablespoons of high-quality plain yogurt or even a bit of a previous batch of cultured cream. Add this to the cream and stir it gently to combine.
Step 2: The Fermentation Phase
Cover the jar loosely with a piece of breathable material—a paper towel or a coffee filter held by a rubber band works fine. Let the cream sit at room temperature (around 70°F to 75°F) for 24 to 48 hours. You're looking for the cream to thicken slightly and develop a subtle, pleasant tang. If it smells "off" or funky in a bad way, toss it. It should smell like fresh yogurt or sourdough.
Once the fermentation is complete, move the jar to the refrigerator for a few hours. This helps the fat crystals stabilize before the mechanical stress of churning. It's a small step, but it makes the separation much cleaner.
Step 3: The Churning Process
Transfer the fermented cream into your stand mixer or food processor. Start on a low speed and gradually increase it. You'll see the cream go through several stages:
- Whipped Cream Stage: The cream becomes voluminous and holds peaks.
- The Breaking Point: The mixture will suddenly look grainy and unstable.
- The Separation: The solid yellow fat (the butter) will pull away from the liquid (the buttermilk).
Once the butter has fully separated, stop immediately. If you keep churning, you might overwork the fat and make it difficult to wash.
Step 4: Washing and Final Seasoning
This is where most people fail. You must wash the butter to remove every trace of buttermilk. If you leave even a tiny bit of moisture, the butter will go rancid within days. Drain the liquid through a cheesecloth, then add ice-cold water to the butter. Use a spatula to "knead" the butter in the water, squeezing out the liquid. Repeat this until the water stays perfectly clear. This is the part that requires patience.
| Type | Flavor Profile | Best Use |
|---|---|---|
| Sweet Cream | Mild, creamy, neutral | Baking, general cooking |
| Cultured (Light) | Tangy, bright, acidic | Sourdough toast, finishing |
| Cultured (Deep) | Sharp, complex, savory | Steaks, high-end plating |
What Temperature Should I Use for Salted Butter?
If you want to add salt, add it while the butter is still warm and slightly pliable, but not melted. For a professional finish, use fine sea salt or Maldon sea salt to ensure even distribution.
A common mistake is adding salt to cold butter. The salt won't integrate; it'll just sit in clumps. If you're making salted butter, add the salt during the final stages of the washing process while the butter is still quite soft. This ensures the salt is fully suspended in the fat. If you're aiming for a specific texture, remember that salt can actually slightly affect the water-binding capacity of the remaining moisture. If you want a "dryer," more stable butter, add a tiny bit more salt.
The science of salt is fascinating. It doesn't just add flavor; it acts as a preservative. In a home kitchen, a well-washed, salted cultured butter can last several weeks in the refrigerator. If you're making unsalted, it's best to use it within a week or freeze it immediately.
One thing to keep in mind: the buttermilk you've separated is liquid gold. Don't throw it away! It's essentially high-quality, slightly acidic milk. You can use it in pancakes, biscuits, or even as a base for a quick sauce. It's a byproduct of the butter-making process that is far too valuable to waste.
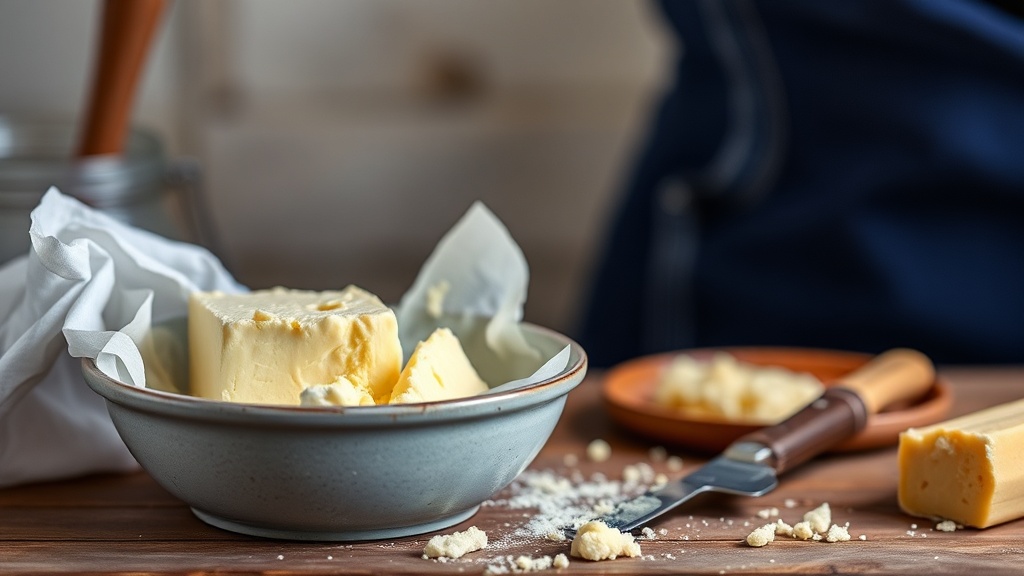
Once your butter is finished, roll it into a log using parchment paper or place it in a ceramic crock. If you're feeling ambitious, you can even infuse it with herbs or garlic during the final kneading stage. The possibilities are endless once you understand the fundamental mechanics of the fat and the acid.
Steps
- 1
Fermenting the Cream
- 2
Churning for Fat Separation
- 3
Washing the Butter
- 4
Seasoning and Storage