Seasoning Your Carbon Steel Pan: The Build-Up Method That Creates a Natural Non-Stick Surface

Why Does Food Stick to My Carbon Steel Pan Even After Seasoning?
Here is a question that keeps landing in my inbox: you have followed all the steps—heated the oil, watched it smoke, repeated the process—and still your eggs cling to the pan like they are afraid of heights. The problem is not your technique; it is your expectations. A properly seasoned carbon steel pan does not arrive fully formed like some Teflon-coated deity. It is built, layer by microscopic layer, through repeated cooking sessions where things sometimes stick, sometimes release, and slowly—you are talking weeks, not hours—a surface emerges that rivals any factory coating.
I spent my early kitchen years watching French line cooks abuse these pans over open flames, building patinas so dark and slick they looked like obsidian. They never obsessed over the seasoning process the way home cooks do now. They just cooked. The carbon steel rewarded their patience. This guide will show you the same build-up method they used—practical, forgiving, and designed around actual cooking rather than stovetop rituals.
What Is Seasoning, Really, and Why Does Carbon Steel Need It?
Let us get technical for a moment—seasoning is polymerization. When you heat oil past its smoke point, the fatty acids break down and bond with the iron surface, creating a thin plastic-like layer (naturally occurring, not synthetic) that fills the metal's microscopic pores. Carbon steel contains about 1% carbon, which makes it harder than cast iron but similarly reactive with moisture and acids. Without that polymerized layer, your pan rusts. With it, you get a hydrophobic surface that releases food and develops character.
Unlike cast iron, carbon steel arrives with a protective coating from the factory—usually beeswax or mineral oil to prevent rust during shipping. You must remove this before seasoning begins. Scrub with hot soapy water and the rough side of a sponge until the surface feels matte and raw. Dry it immediately, then heat it gently to evaporate any remaining moisture. This is the only time soap touches your pan. From here forward, cleaning happens with hot water and gentle abrasion—a chainmail scrubber works beautifully, or just kosher salt and a paper towel for light residue.
How Do I Build Up a Seasoning Layer That Actually Lasts?
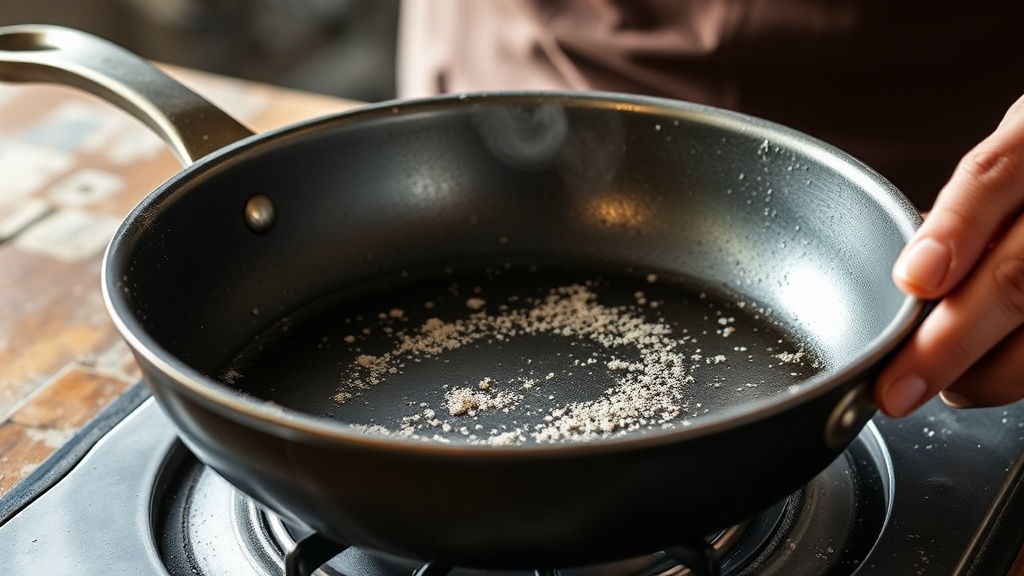
The stovetop seasoning method you see everywhere—heat, oil, smoke, repeat—creates a base layer, yes, but it is brittle and prone to flaking. I prefer the cook-and-wipe approach that builds seasoning through actual use. Here is how it works: after your initial factory coating removal, heat the pan over medium-high until a drop of water dances across the surface (the Leidenfrost effect, if you want to impress guests). Add a thin layer of high-smoke-point oil—flaxseed, grapeseed, or rice bran work well—and wipe it out completely with a paper towel. You want the barest sheen, not a pool.
Now cook something fatty. Bacon is the classic choice, though it contains sugar that can leave sticky residue. Better options: sear a well-marbled steak, fry chicken thighs skin-side down, or cook a batch of potatoes in generous butter. The key is high heat and fat—this builds that polymer layer through actual cooking stress, not controlled laboratory conditions. After cooking, while the pan is still warm, wipe it clean with a cloth or paper towel, add a drop of oil, rub it over the entire surface including the exterior, and wipe again until dry. Put it away. Repeat this fifty times.
I am serious about the repetition. The pan you see in professional kitchens with that mirror-black finish? That is years of accumulation. Your pan will go through ugly phases—splotchy, mottled, brown in some areas and gray in others. This is normal. Resist the urge to strip and start over unless you see actual rust. The mottling is just different thicknesses of polymer building up; eventually they even out through continued use.
What Foods Should I Avoid During the Break-In Period?
For the first month, be strategic. Acidic foods—tomatoes, wine reductions, citrus-based pan sauces—strip seasoning aggressively. They react with the iron and break down those fledgling polymer bonds. I learned this the hard way making a puttanesca sauce in a three-week-old pan; it emerged looking raw and patchy, all that careful build-up dissolved into the acidic tomato base. Wait until your pan has developed that deep brown-to-black color before attempting pan sauces with wine or tomatoes.
Similarly, avoid watery vegetables early on. Zucchini, mushrooms, and spinach release moisture that fights the hot oil you need for polymerization. Stick to proteins and starchy vegetables—potatoes are particularly good for building seasoning because their starches help fill surface irregularities while the butter or oil you use continues the polymerization process. Eggs are the ultimate test, not the starting point. If your scrambled eggs slide out cleanly, you have arrived.
How Do I Maintain My Seasoning Without Stripping It?
Cleaning is where most people damage their work. Never soak a carbon steel pan. Never put it in the dishwasher (though if you are reading this, you probably already know that). The method is simple: while the pan is still warm, run hot water into it and scrub with a chainmail scrubber or stiff brush for stubborn bits. For everything else, a wipe with a cloth suffices. Dry immediately over low heat, then apply that post-cooking oil layer—wipe on, wipe off, just like the karate kid.
Occasionally your seasoning will take a hit. Maybe you simmered a bolognese too long, or someone deglazed with vinegar without thinking. Do not panic. Scrub the affected area gently, heat the pan, add oil, and cook something fatty next time. The seasoning repairs itself through continued use. This is the beauty of carbon steel—it is resilient in ways that synthetic coatings are not. A scratched non-stick pan is ruined. A carbon steel pan just keeps building character.
The folks at Serious Eats have documented this process extensively, noting that even professional chefs deal with sticking during the break-in phase. Their research confirms what I have observed in kitchens: the pans that perform best are not necessarily the ones babied with elaborate seasoning ceremonies, but the ones used regularly for appropriate tasks. Another excellent resource is Bon Appétit's carbon steel guide, which emphasizes the importance of heat management over obsessive oil application.
Speaking of heat—carbon steel conducts quickly and holds temperature well, but it develops hot spots. Preheat gradually over medium heat, moving the pan occasionally to distribute warmth. Then increase to high for searing. Sudden thermal shock can warp the pan (though good carbon steel is remarkably forgiving). The testers at Cook's Illustrated found that gradual preheating actually improves non-stick performance because it allows the oil to reach polymerization temperature evenly across the surface.
"The pan tells you when it is ready. Water droplets skittering like mercury—that is the moment to add your fat. Rush this and you are fighting the metal instead of working with it."
After six months of regular use, your carbon steel pan will look nothing like the silvery gray pan you unboxed. It will be various shades of brown and black, perhaps slightly uneven in color, and it will cook better than almost anything else in your kitchen. You can move it from stovetop to oven without worry—carbon steel handles 600°F+ temperatures that would destroy standard non-stick. You can use metal utensils. You can sear, sauté, shallow-fry, and even roast. The seasoning will continue evolving, becoming more non-stick and more durable with every meal you cook.